How to Root Moto G9 Power – Two Working Methods!
Have you found it intriguing to root moto g9 power? Or want to achieve all fascinating features? Ring the bells because you have come across this simple-to-use root guide.
In this guide, we have covered up the method, which includes secure apps like magisk to attain exciting privileges, so make sure to read the whole thing to grasp knowledge.
But before heading there, do you know what the specs of your smartphone are? If not, the next section will help you understand the essential steps required in the process.
This smartphone launched in the Indian market on 5th November 2020. Talking about camera sensor 64MP + 2MP + 2MP triple primary camera setup. Snapdragon 662 processor powers moto g9 power with 4GB Ram and 64GB storage. The smartphone was coming— with 6.8 inches (17.27 cm) 263 PPI, IPS LCD. We are moving to battery performance is 6000 mAh, USB Type-C Port with Turbo Power Charging before starting the guide. Let’s understand what root is!
What is Root?
The root is nothing more than the symbol “/” in the primary computer language, which holds value in storing the user’s data precisely & the admin-level controlling privileges.
Apart from this, the process of gaining access to the administer directory is known as the root access in the tech community, while it does comes with its twists and turns.
Understanding the pros and cons section is far more necessary since a single mistake can brick your device; you didn’t want that to happen, right! Thus, let’s visit that part.
Pre-Requisites
- Ensure your smartphone bootloader has unlocked. You can also follow our guide to unlocking the bootloader on any Motorola phone.
- You can not do anything about the data stored inside the internal storage once the rooting process starts. Please, take backup data before.
Advantages of Root Moto G9 Power
Indulge with customization traits by changing the interface layout according to your daily usage needs while adding other operating system features will become possible.
You can reach one step forward and enhance the processing cloak speed twofold with the overclocking software support, significantly improving the gameplay experience.
Disadvantages of Root Moto G9 Power
Although the same overclocking software might cause havoc on the system settings, overheating problems start to occur to the surface due to incompatible hardware.
Sadly, you have to throw away all the warranty period privileges as installing custom recovery unlocking the bootloader is considered a violation of the company’s policies.
Magisk Update is not responsible for what happens to your phone. Do it at your own risk while carefully following the guidelines and asking if you have any doubt regarding this matter. Download the correct TWRP according to your model.
How to Install TWRP Without Using a PC
- Install the essential tools and TWRP custom recovery to move swiftly in future.
- Ensure to attain the latest version of the Magisk zip file using this guide, while the second thing you need to follow is the unlock bootloader section.
- You will need a secondary phone, and you have to purchase an OTG cable so that the secondary device can work as the PC and run basic commands.
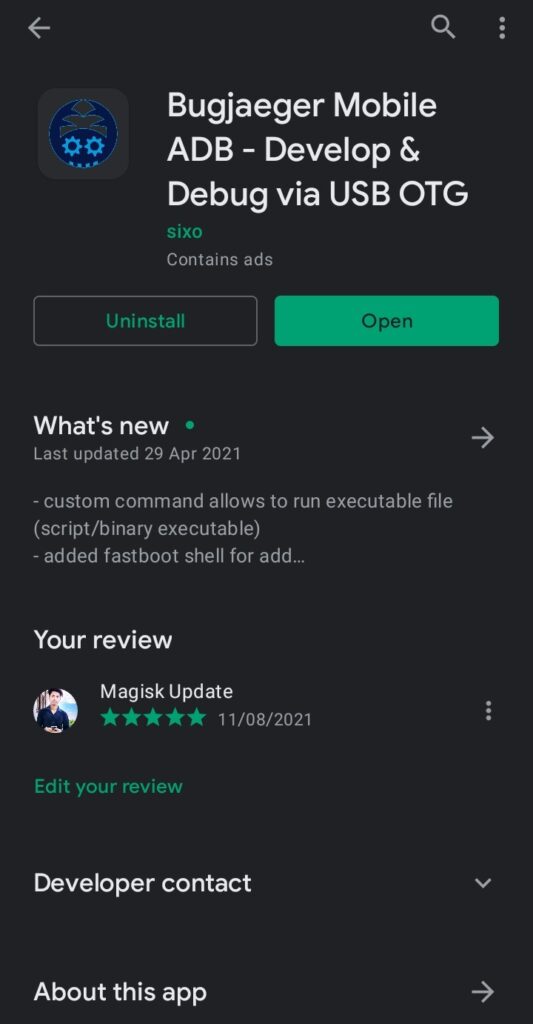
- Download the Bugjaeger Mobile ADB application into your Android phone.
- Make sure that the secondary device also has enabled USB debugging.
- Connect OTG into the secondary device while connecting the USB cable to the primary device. Plugin them accurately since everything depends on them.
- Apply the Power + Volume down buttons combo once in the primary device.
- From this combination, you will enter into the fastboot mode of your handset.
Note: I assume that you have downloaded the respective TWRP file!
- Head toward the Bugjaeger Mobile ADB app and press on the flash option.
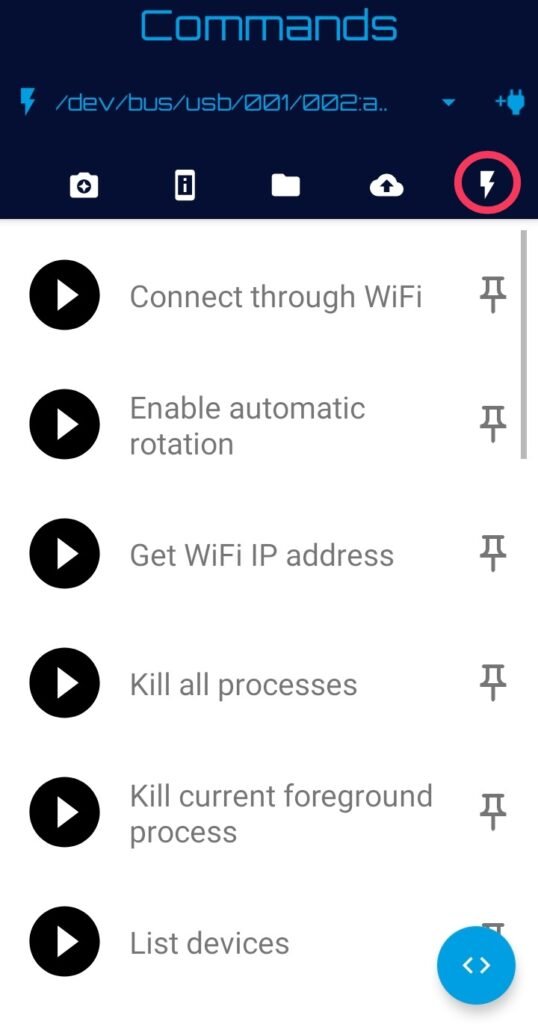
- You will notice the command prompt button in the below section of the screen.
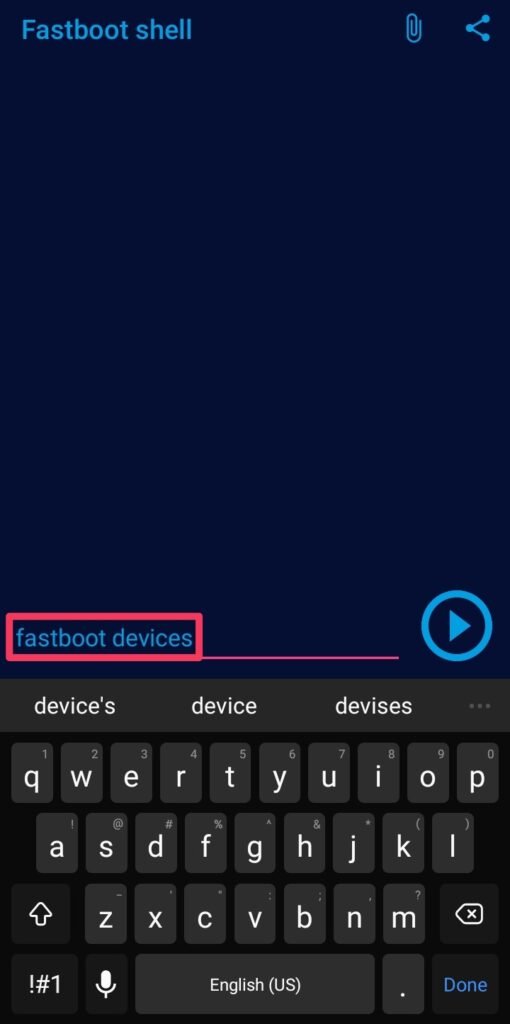
- Type command –fastboot devices – It will show that your device is connected.
- Type the second command –fastboot flash recovery– Make sure that you are entering the correct spelling, and after that, you have to attach the required file.
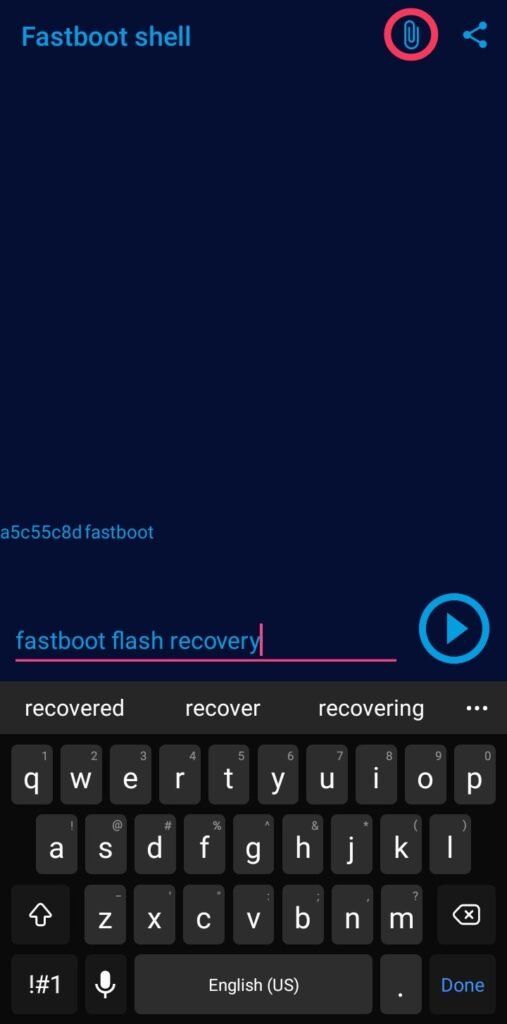
- Click on the attached file icon and navigate to the stored TWRP file location.
- Once you tap on the flashable file, it will appear in the command prompt.
- Now, press the play button to initialize the process of flashing the recovery.
- Once everything ends safe and sound—disconnected the primary device and boot into the custom recovery mode through the Volume Up + Power buttons.
Method#1: Root Moto G9 Power Using Magisk
- You have likely obtained the flashable zip file from the above section, right?
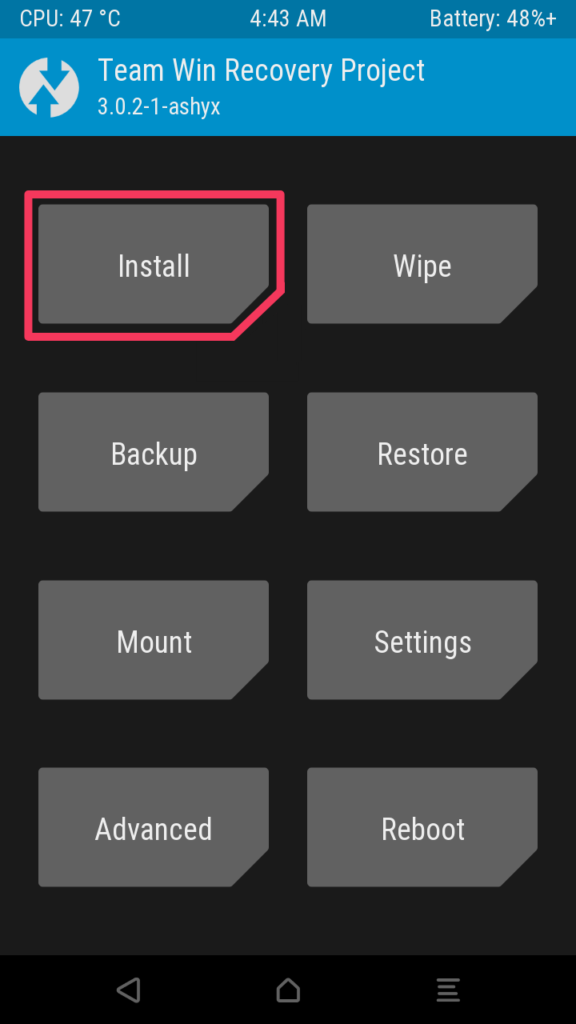
- Click on the Install section of the TWRP (Team Win Recovery Project) screen.
- Navigate to the Magisk zip folder and open the file into the internal storage.
- Once you will reach the file, tap on it while select storage starts to appear.
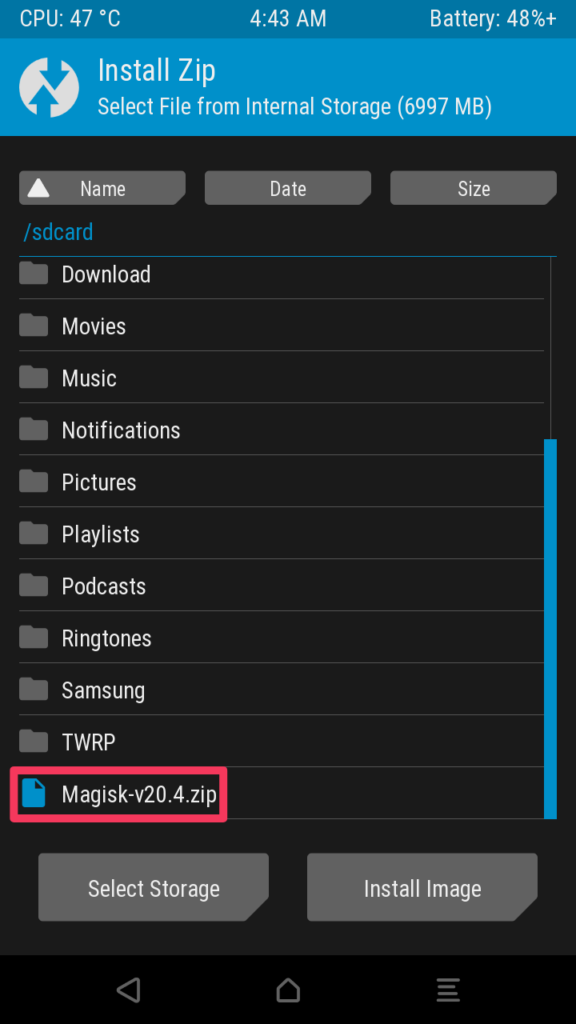
- Swipe right to complete the process. Afterward, reboot the device at last.
- Congratulation, you have finally unlocked those fascinating root privileges.
Method#2: Root Moto G9 Power Using KingRoot
If you are looking for a method that root Android phones without a PC, the KingRoot is the solution for that, you didn’t need an additional resource package to start.
- First of all, get the latest version of the KingRoot apk.
- Download and install on the KingRoot apk over your phone.
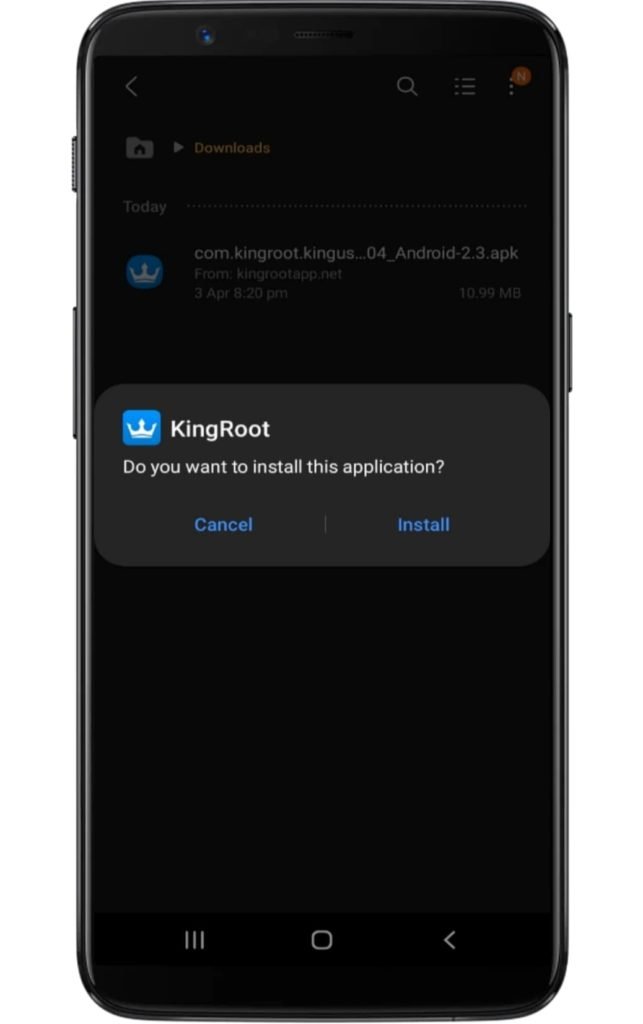
- Make sure you have enabled the unknown source option.
- Access the application and tap on the “Try Root” button.
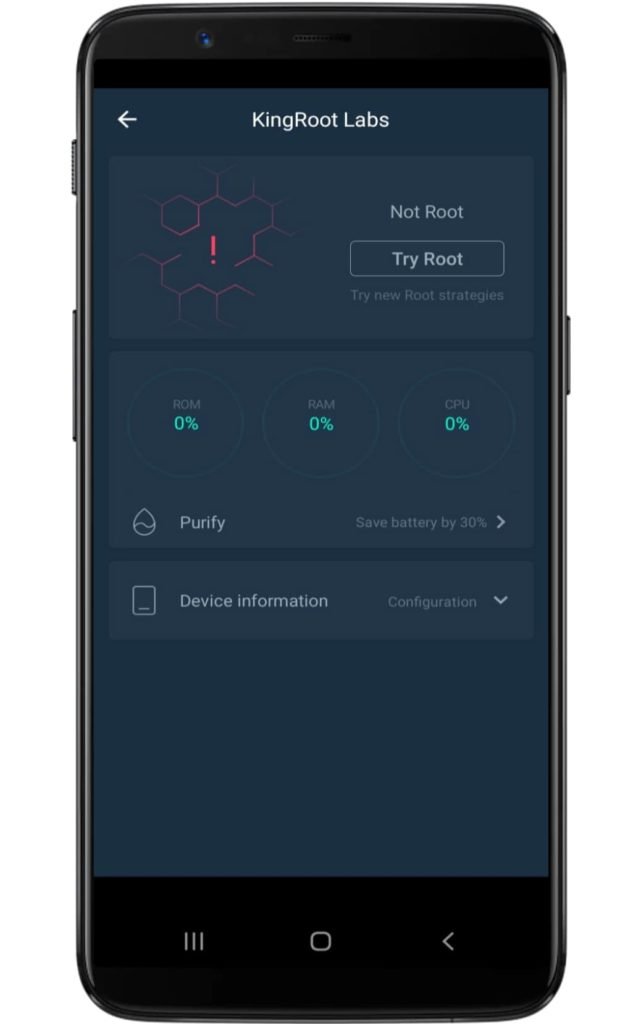
- Now several booting starts to take place, so don’t worry!
- Lastly, your device will be successfully rooted.
Conclusion
Finally, you have received the rooting features blessing now; you quickly customize the system settings without worrying about limitations and enjoy the exciting features.
However, something didn’t work out in your scenario, then head toward the following section and express where things go wrong. So we can help you and give a solution.