
How to Root Samsung Galaxy M21 – Two Working Methods!
Do you feel like the system settings and features are not enough for your daily usage, lacking customization? Then, my friend, it’s necessary to root Samsung Galaxy M21!
Since rooting features unfold unique and exciting things for you, along with or without minimal changes into the system partition that unlocks an impressive set of features.
For starters, this guide contains everything from scratch so worry not even though you are a newbie to this field, meanwhile let’s add a bit of information about the specs.
This smartphone launched in the Indian market on 18th March 2020. Talking about camera sensor 48MP + 8MP + 5MP triple primary camera setup. Exynos 9 Octa processor power Samsung Galaxy M21 with 4GB Ram and 64GB storage. The smartphone was coming— with 6.4 inches (16.26 cm) 403 PPI, Super AMOLED. We are moving to battery performance is 6000 mAh, USB Type-C Port with Fast Charging before starting the guide. Let’s understand what root is!
What is Root?
The original directory where the android system is placed, called root access. In simple words, it’s the place where all the apps and files data, software’s, etc., are stored.
For each smartphone brand, the way of gaining root access is different for all. With this, getting entrance to the system admin privileges becomes easy peasy for you.
After this, you will acquire the title of rooting access users that go through system settings, but you need also be aware of the downside, so let’s see the pros and cons.
Here are some Points to Remember while Rooting
- Ensure your smartphone bootloader has unlocked. You can also follow our guide to unlocking the bootloader on any Samsung phone.
- You can not do anything about the data stored inside the internal storage once the rooting process starts. Please, take backup data before.
Advantages of Root Samsung Galaxy M21
You can design the custom interface settings that allow going through the phone’s unknown surroundings and cross limits while visiting pretty new horizon features.
Usually, the standard processing cores are ties with low clocking hardware! But with the overclocking software, you can further improve the performance level to the max.
Disadvantages of Root Samsung Galaxy M21
In return for the fascinating features, you have to pay the price by warranty policy as you breach into administer settings and take control over the device’s every portion.
Some users have experienced hardship handling the rooted device as it’s starting to burn out the system for unknown reasons while disrupting whole internal hardware.
Disclaimer: You need to be aware that this patching method is tricky and risky. Magiskupdate is not responsible for any damage to the reader device. So do it everything carefully. Download and install the Samsung USB driver to your PC.
#1: Root Samsung Galaxy M21 Using Magisk
Preparing the boot image file
- Ensure that you have put the magisk app, Odin tool, and Stock Firmware file in the same folder since you will need them frequently during the procedure.
- Enter into stock firmware folder and extract the “AP” file through the unzipper.
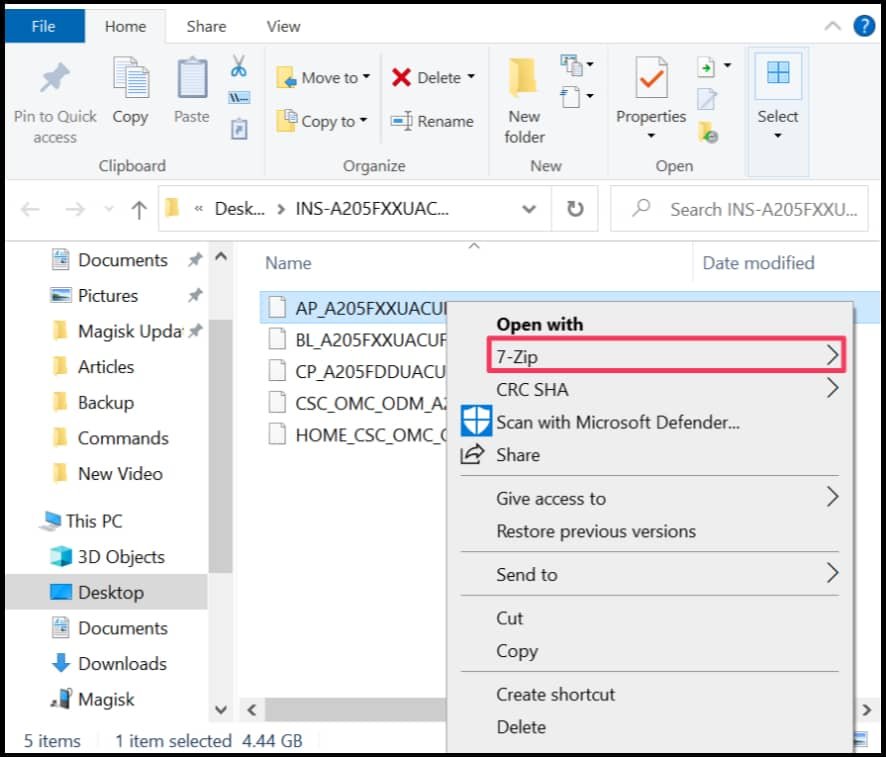
- Now tap on a newly extracted folder. There, you have to right-click the boot file.
- Choice 7-zip then select the “Add to archive” option to change archive format.
- Select and change the archive format from .lz4 to .tar, then hit the OK button.
- Copy the boot.img.tar into your Android smartphone for the patching process.
Patching the boot image file
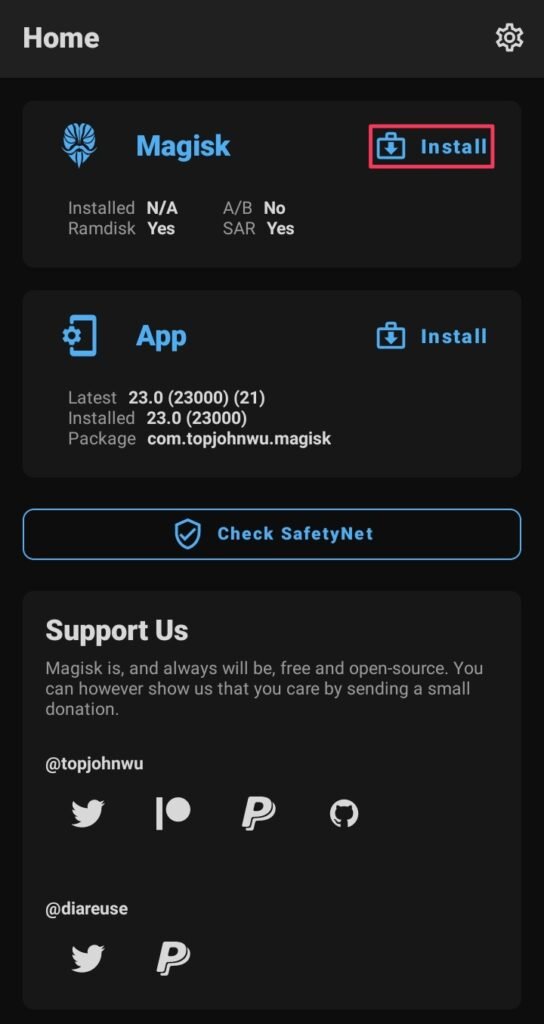
- Download and install Magisk App and tap on the install option inside the app.
- Navigate to the storage unit part where you have saved in device boot.img.tar.
- Once you tap on that file, the patching process will automatically be initialized.
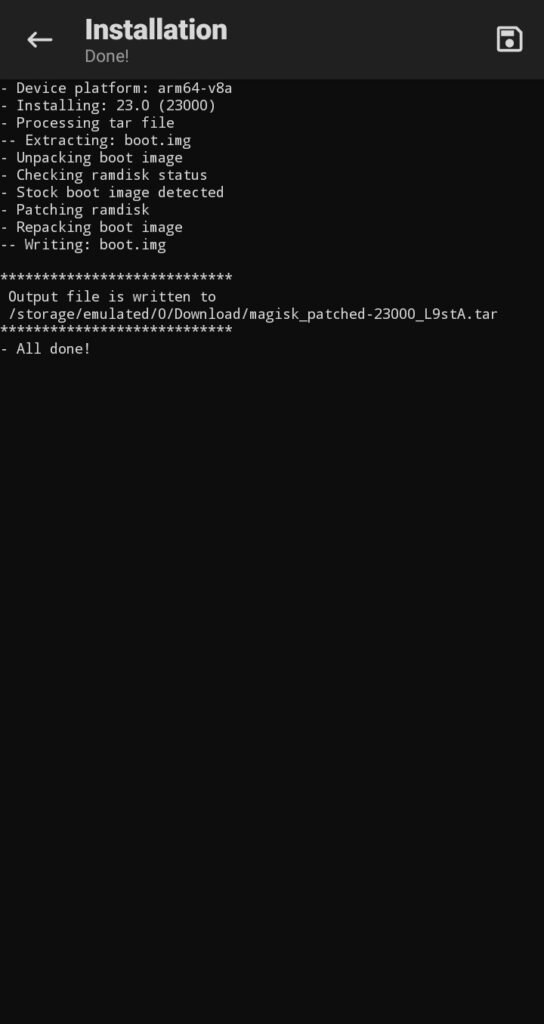
- From this, you will obtain the magisk_patched.tar file at the exact location.
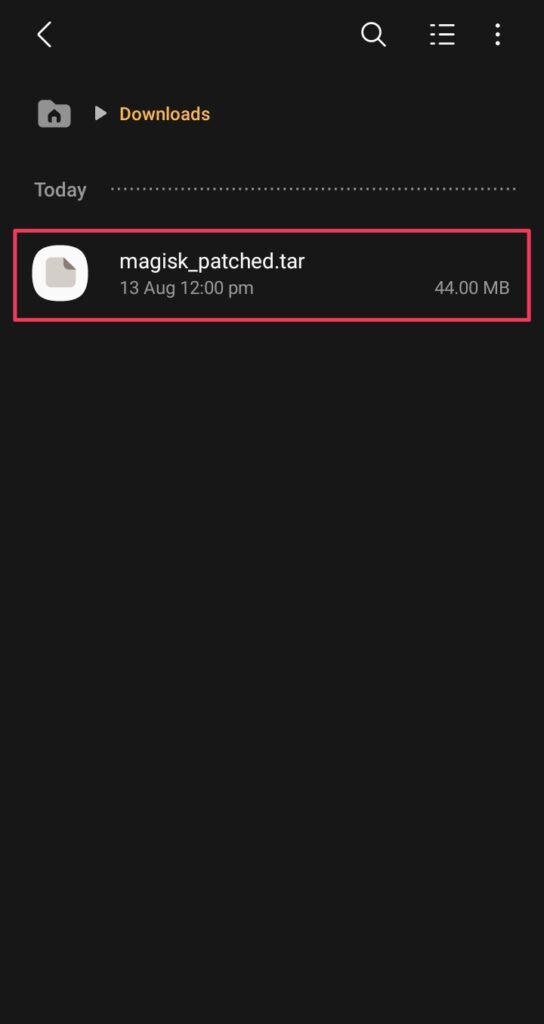
- Deliver that .tar file to the PC, and connect your phone into download mode.
- Turn off the phone, and press both volume keys while connecting to the PC.
Flash the patched boot image file
- Open the Odin Flash Tool, there, you will notice that the device is connected, but if that’s not showing in your case, perform the last two steps once again.
- Head toward the “AP” section, then drag and drop the magisk patched .tar file.
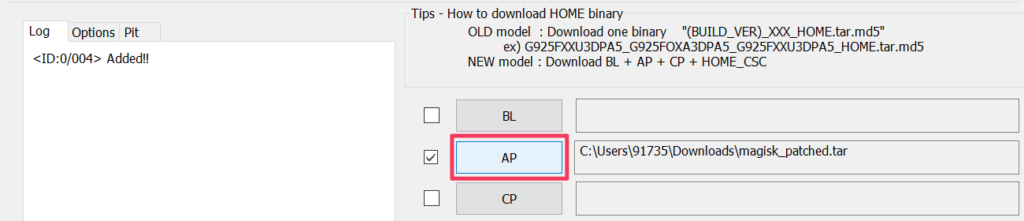
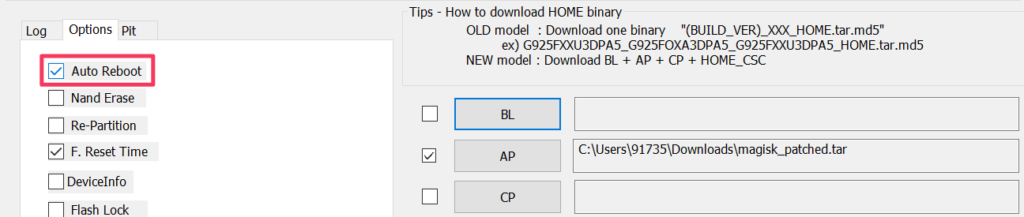
- In the left corner, you have to untick the “Auto-reboot” option to boot manually.
- Now, simply tap on the start button to initialize the final patching procedure.
Re-installing the Magisk App
- Remove the data cable once the flashing process ends, then press and hold the Volume down + Power Button until the Samsung logo with alert appears.
- Release both button and long-press Volume Up key to enter in the recovery.
- Apply the factory reset setting and safely reboot the phone in the usual way.
- Download the Magisk App from this guide and install it properly, so it works.
Once the reboot process end, the magisk will fully install with your phone, now enjoy!
#2: Root Samsung Galaxy M21 Using KingRoot
If you are looking for a method that root Android phones without a PC, the KingRoot is the solution for that, you didn’t need an additional resource package to start.
- First of all, get the latest version of the KingRoot apk.
- Download and install on the KingRoot apk over your phone.
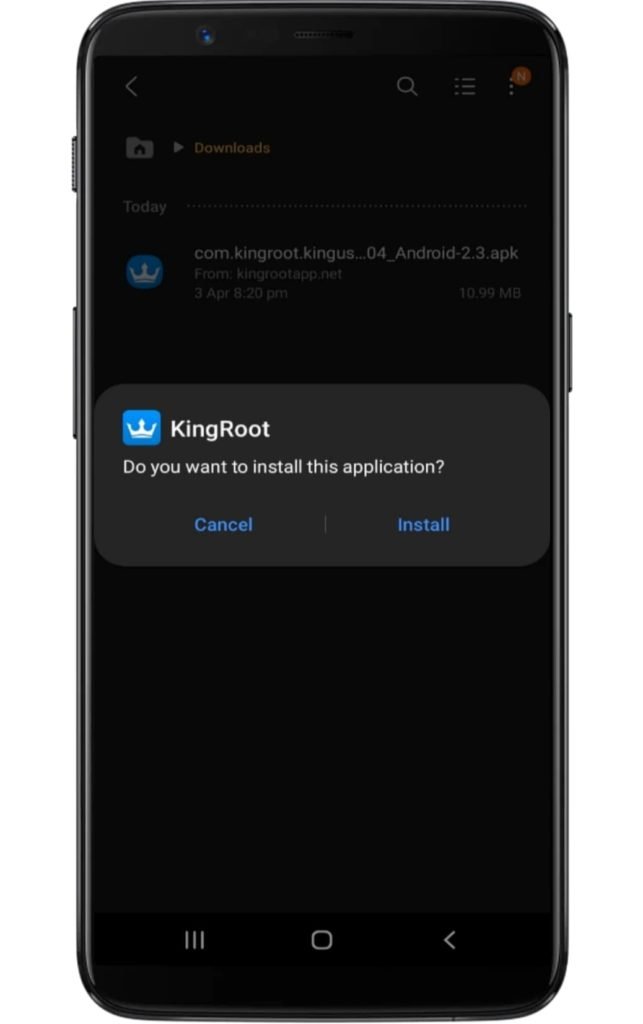
- Make sure you have enabled the unknown source option.
- Access the application and tap on the “Try Root” button.
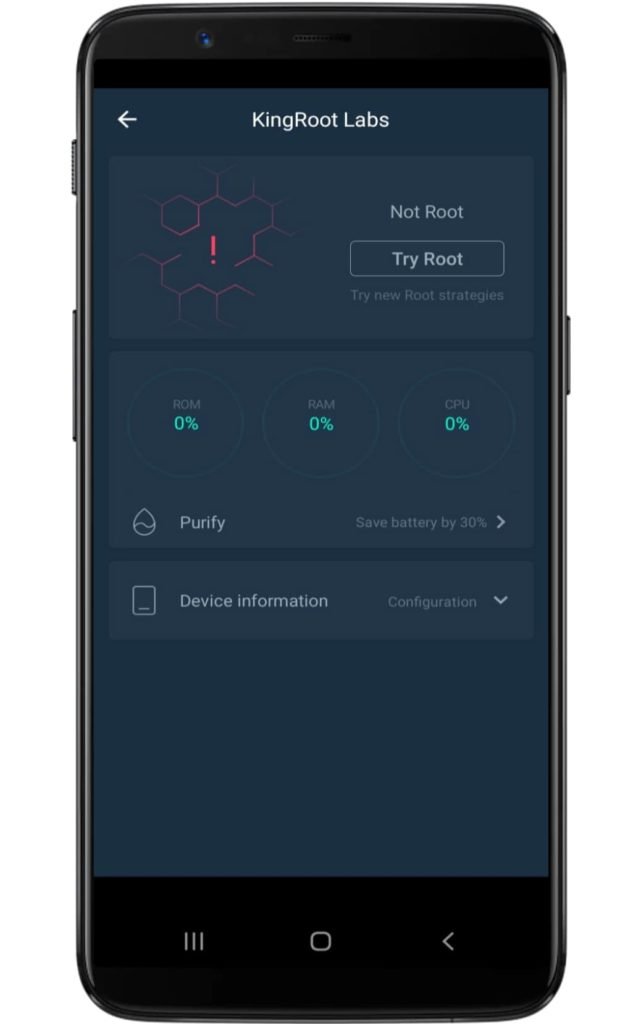
- Now several booting starts to take place, so don’t worry!
- Lastly, your device will be successfully rooted.
Related Article:
That’s all you need to do and as you have finally reach the end, why don’t you give it a try to the exciting things! Thus, several fabulous things are waiting for your orders.
However, you are facing issues or something isn’t working out in your case—do let us about it in the below section! I would try to provide a subtle solution as fast as I can!


Need TWRP and it’s not available for m21??!
don’t worry today my team update this article with a patched method and this procedure no need twrp recovery.
Don’t find the recovery file for Samsung m21 on twrp…please help me…
thanks for visiting my blog. toady my team update this article without the TWRP method.
Brother, there is no recovery for Samsung m21 in devices how can we download recovery
Sorry bro for this, but don’t worry today we will update the article with working method.
Is this working Method for Samsung m21? is anyone tried?
Yes, my team test this device.