How to Root Samsung Galaxy A10 – Two Working Methods!
Are you bored with simple system settings or want to try out something exciting! Yes, you have landed on the right place to root Samsung Galaxy A10 in a precise fashion.
In this post, we have covered everything that is necessary to unfold those impressive features without facing any problem or bottleneck issue at all, so read it till the end.
To start the fascinating journey of root access, the first thing you need to understand would most likely be the primary specs; thus, let’s depart to that route without delay.
This smartphone launched in the Indian market on 2nd March 2019. Talking about camera sensor 13 Megapixel primary camera setup. Exynos 7 Octa processor power Samsung Galaxy A10 with 2GB Ram and 16GB storage. The smartphone was coming— with 6.2 inches (15.75 cm) 271 PPI, TFT LED. We are moving to battery performance is 3400 mAh before starting the guide. Let’s understand what root is!
What is Root?
If you are not aware of the internal directory, let me get straight to the point, the root directory is the core section that handles your personal and software data on phone.
On the other hand, claiming the root access is an utterly different thing, in which you have to follow up by unlocking the bootloader and flash the img file to get to the path.
But considering that fact, you also need to know about both sides of the coin; cause some flaws can harm your phone. Therefore, let’s look at the pros and cons section.
Pre-Requisites
- Ensure your smartphone bootloader has unlocked. You can also follow our guide to unlocking the bootloader on any Samsung phone.
- We recommend that your smartphone battery has been charged more than 40% because a lot of time is required for the rooting procedure.
Advantages of Root Samsung Galaxy A10
Faster battery drainage is the usual problem in every phone! With the underclocking software, you can increase screen time severalfold without worrying about any issue.
You can utilize the root titanium features that block unwanted apps and spyware that might slip down by some random UI update and offers disable— bloatware features.
Disadvantages of Root Samsung Galaxy A10
Some users have reported that they have noticed a sudden performance drop when you install an unknown Custom ROM without any proper information, so beware of it.
The heating issue could occur in the usual case. But in the rooted device, it might happen if you frequently install incompatible apps and harms the internal hardware.
Disclaimer: You need to be aware that this patching method is tricky and risky. Magiskupdate is not responsible for any damage to the reader device. So do it everything carefully. Download and install the Samsung USB driver to your PC.
#1: Root Samsung Galaxy A10 Using Magisk
Preparing the boot image file
- Ensure that you have put the magisk app, Odin tool, and Stock Firmware file in the same folder since you will need them frequently during the procedure.
- Enter into stock firmware folder and extract the “AP” file through the unzipper.
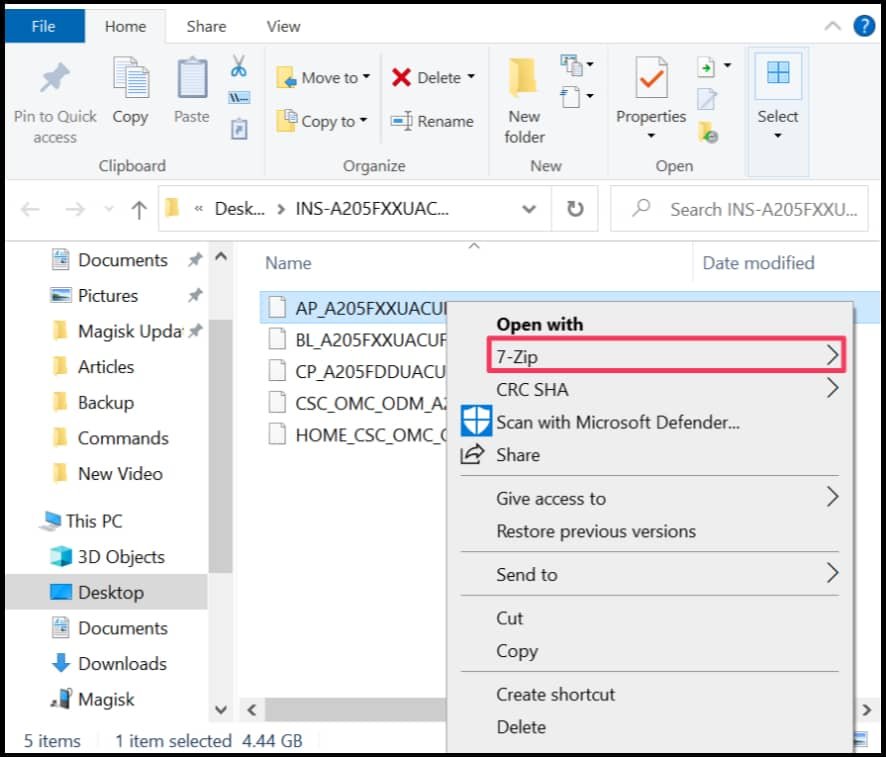
- Now tap on a newly extracted folder. There, you have to right-click the boot file.
- Choice 7-zip then select the “Add to archive” option to change archive format.
- Select and change the archive format from .lz4 to .tar, then hit the OK button.
- Copy the boot.img.tar into your Android smartphone for the patching process.
Patching the boot image file
- Download and install Magisk App and tap on the install option inside the app.
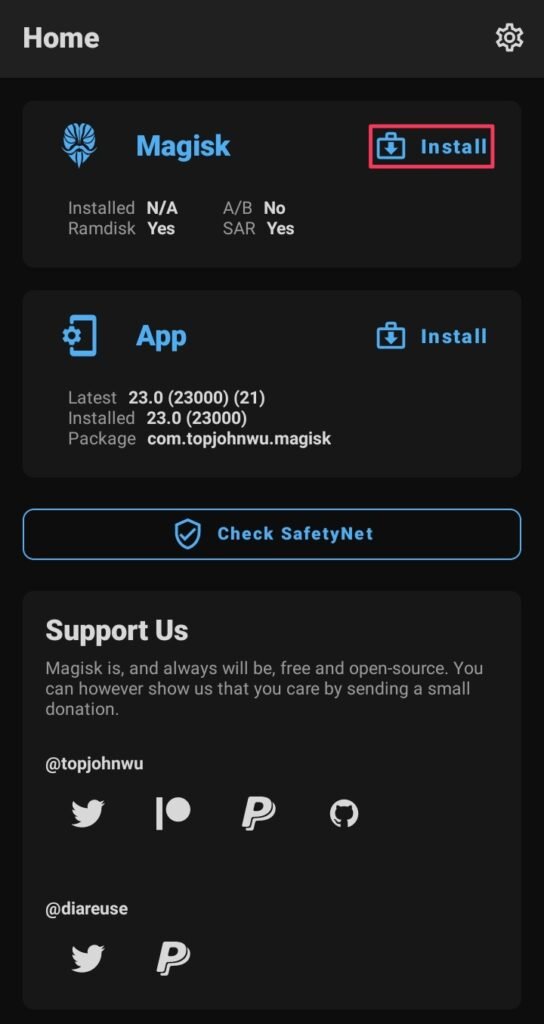
- Navigate to the storage unit part where you have saved in device boot.img.tar.
- Once you tap on that file, the patching process will automatically be initialized.
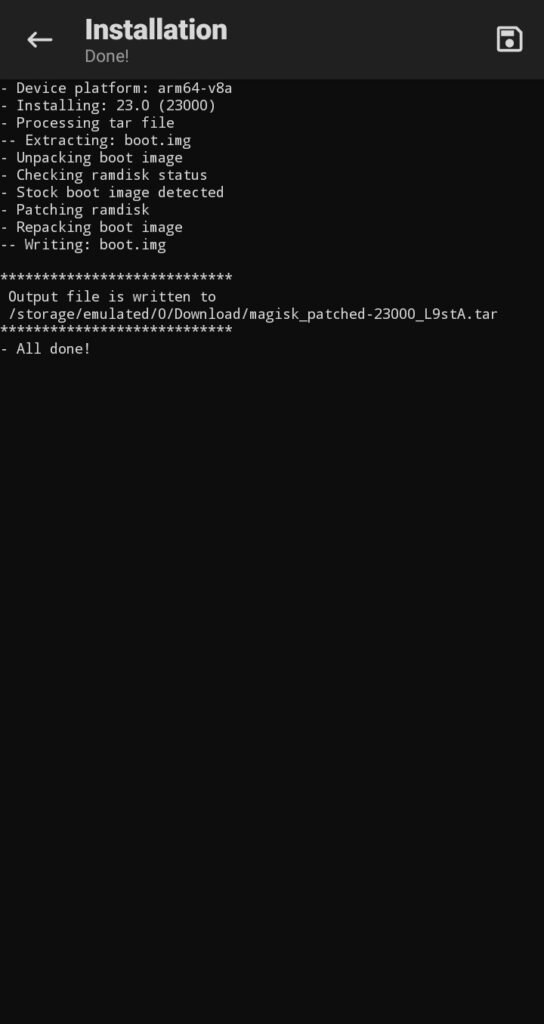
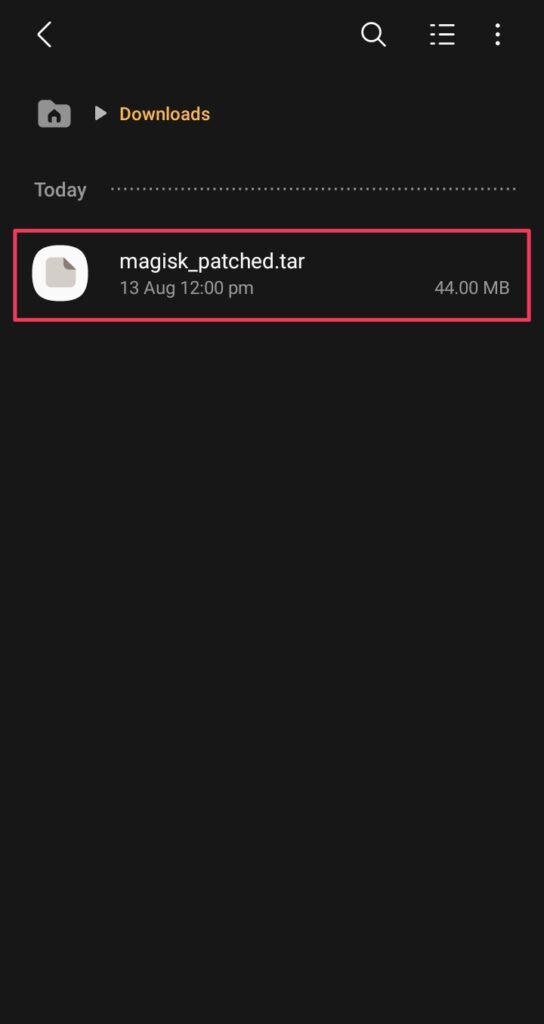
- From this, you will obtain the magisk_patched.tar file at the exact location.
- Deliver that .tar file to the PC, and connect your phone into download mode.
- Turn off the phone, and press both volume keys while connecting to the PC.
Flash the patched boot image file
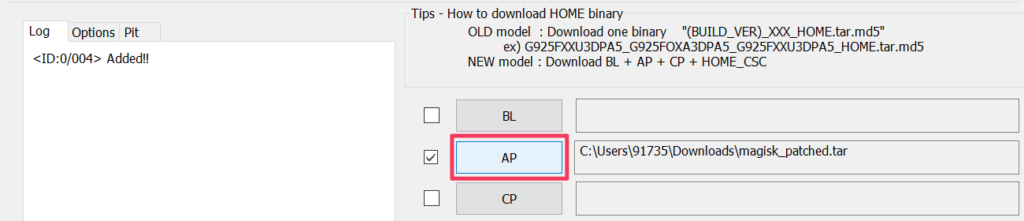
- Open the Odin Flash Tool, there, you will notice that the device is connected, but if that’s not showing in your case, perform the last two steps once again.
- Head toward the “AP” section, then drag and drop the magisk patched .tar file.
- You have to untick the “Auto-reboot” option to boot manually in the left corner.
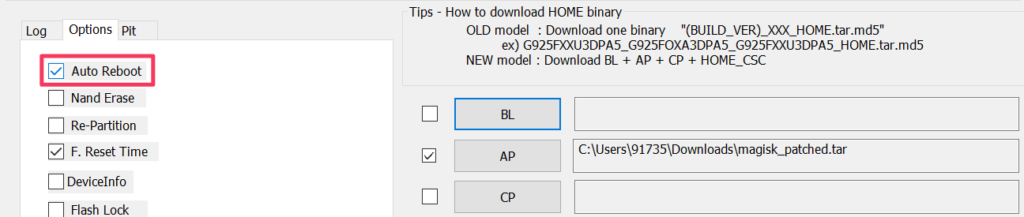
- Now, simply tap on the start button to initialize the final patching procedure.
Re-installing the Magisk App
- Remove the data cable once the flashing process ends, then press and hold the Volume down + Power Button until the Samsung logo with alert appears.
- Release both buttons and long-press Volume Up key to enter in the recovery.
- Apply the factory reset setting and safely reboot your phone in the usual way.
- Download the Magisk App from this article and install it properly, so it works.
Once the reboot process end, the magisk will fully install with your phone, now enjoy!
#2: Root Samsung Galaxy A10 Using KingRoot
If you are looking for a method that root Android phones without a PC, the KingRoot is the solution for that, you didn’t need an additional resource package to start.
- First of all, get the latest version of the KingRoot apk.
- Download and install on the KingRoot apk over your phone.
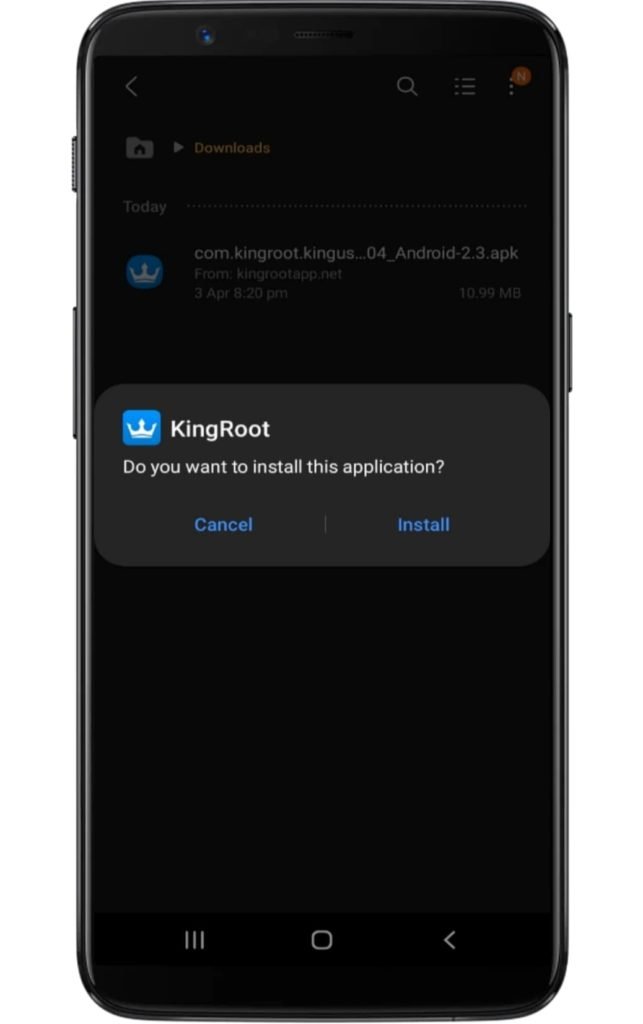
- Make sure you have enabled the unknown source option.
- Access the application and tap on the “Try Root” button.
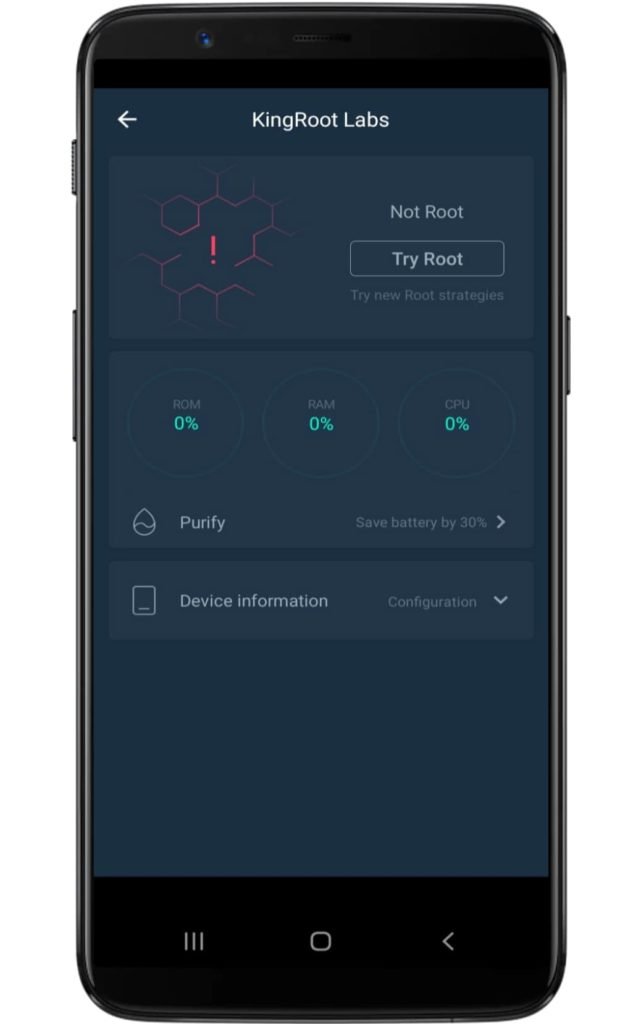
- Now several booting starts to take place, so don’t worry!
- Lastly, your device will be successfully rooted.
Related Article:
Belatedly, you have come beyond the edge—now unleash the true potential of your smartphone with your own hands. Besides, there’s an exciting journey lies ahead.
However, if you are facing any issues while following up on the content of this guide, don’t be hesitate to ask or point out flaws in the process; we will be glad to hear you.