How to Root Samsung Galaxy A13 – Two Working Methods!
You can perform multiple things once you have the key to open the portal for endless customization. Here, you will acquire a dedicated guide to root Samsung Galaxy A13.
This post will obtain everything essential while following the rooting process since you need several standalone apps and software to compose a full-proof working process.
As you might have learned, the Samsung Galaxy A13 didn’t offer robust attributes as it’s an entry-level phone that didn’t provide unique features and traits combination.
But still, if you have a dream to create something exceptional from scratch, why don’t you try rooting your phone? It will provide you with subtle customization accurately.
Although there’s no denying that drawbacks come in front of you, such as bootloop and brick, to compensate that you will receive advanced internal system credentials.
With the rooting process, you can twist the interface structure outside and down, but before that, let’s get to the basics by understanding what the root partition is and do?
What is Root?
As the roots have the trees, the computer or smartphone devices also have their core directory that collects all the system data and stores it in one place, called the root.
Besides this, it even carries powers to manipulate the system settings, known as the administer directory that grants access to the system files but is closed by the makers.
The system software does have a limitation, but you can break them with the rooting traits and equips anything you want. But, you need to understand the pros and cons.
Pre-Requisites
- Ensure your smartphone bootloader has unlocked. You can also follow our guide to unlocking the bootloader on any Samsung phone.
- We recommend that your smartphone battery be charged more than 40% because a lot of time is required for the rooting procedure.
Advantages of Root Samsung Galaxy A13
The rooting privileges bless you with superb control over the entire system files and let you transform the boring interface into something exciting and personalized interface.
Next, you will attain those fascinating characteristics, and you don’t have to wait for the Android OS since you can quickly flash the beta version to enjoy the latest quality.
Disadvantages of Root Samsung Galaxy A13
On the other hand, you will lose the warranty privileges you gain for a short period. In worst-case scenarios, the maker won’t deliver a refund if the device becomes brick.
Besides, there is a high chance that the flashable ROMs are equipped with malware and virus that damage the device, so check everything before flashing into the system.
How to Root Samsung Galaxy A13 Using Magisk
Disclaimer: You need to be aware that this patching method is tricky and risky. Magiskupdate is not responsible for any damage to the reader device. So do it everything carefully. Download and install the Samsung USB driver to your PC.
Step 1 – Preparing the boot image file
- Ensure that you have put the magisk app, Odin tool, and Stock Firmware file in the same folder since you will need them frequently during the procedure.
- Enter into stock firmware folder and extract the “AP” file through the unzipper.
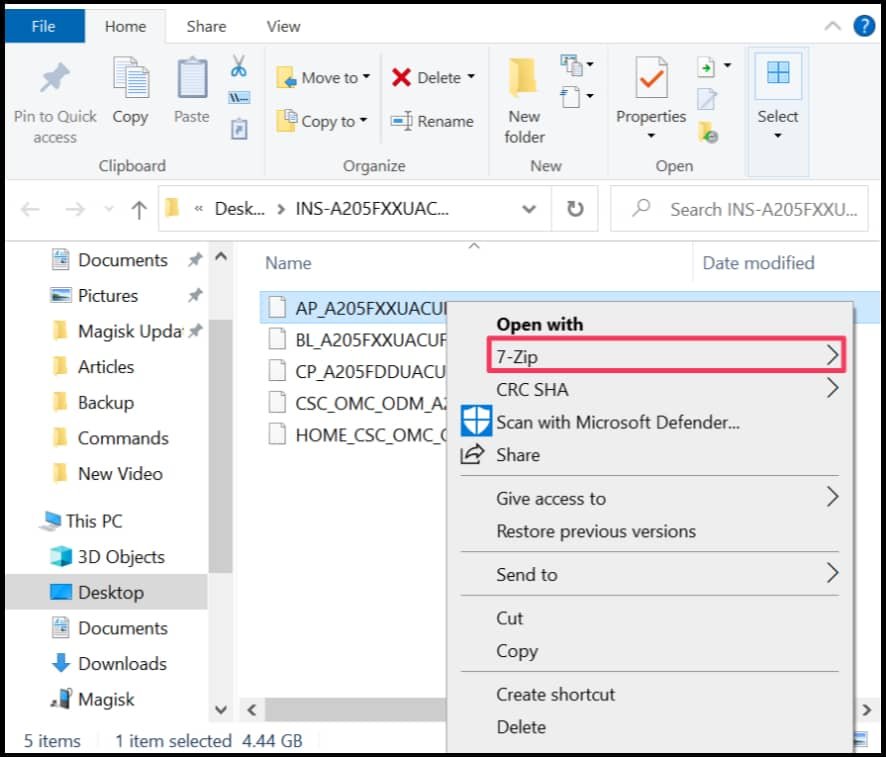
- Now tap on a newly extracted folder. There, you have to right-click the boot file.
- Choice 7-zip then select the “Add to archive” option to change archive format.
- Select and change the archive format from .lz4 to .tar, then hit the OK button.
- Copy the boot.img.tar file in your Android smartphone for the patching process.
Step 2 – Patching the boot image file
- Download and install Magisk App and tap on the install option inside the app.
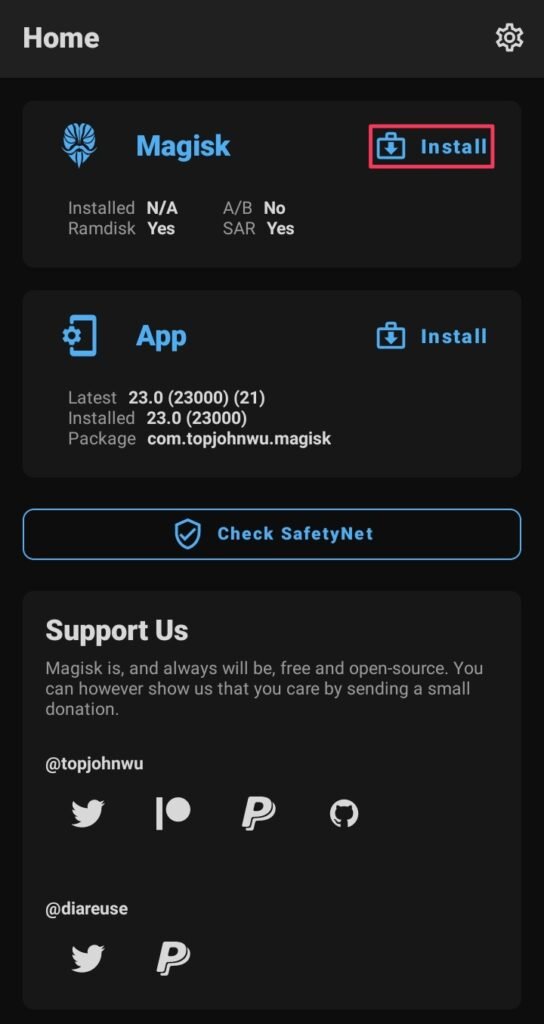
- Navigate to the storage unit part where you have saved in device boot .tar file.
- Once you tap on that file, the patching process will automatically be initialized.
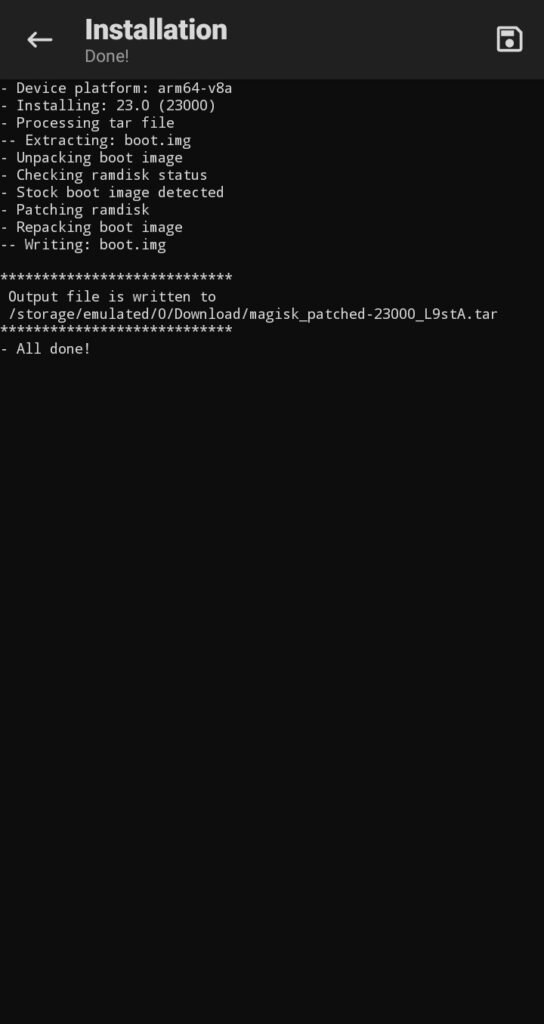
- From this, you will obtain the magisk_patched.tar file at the exact location.
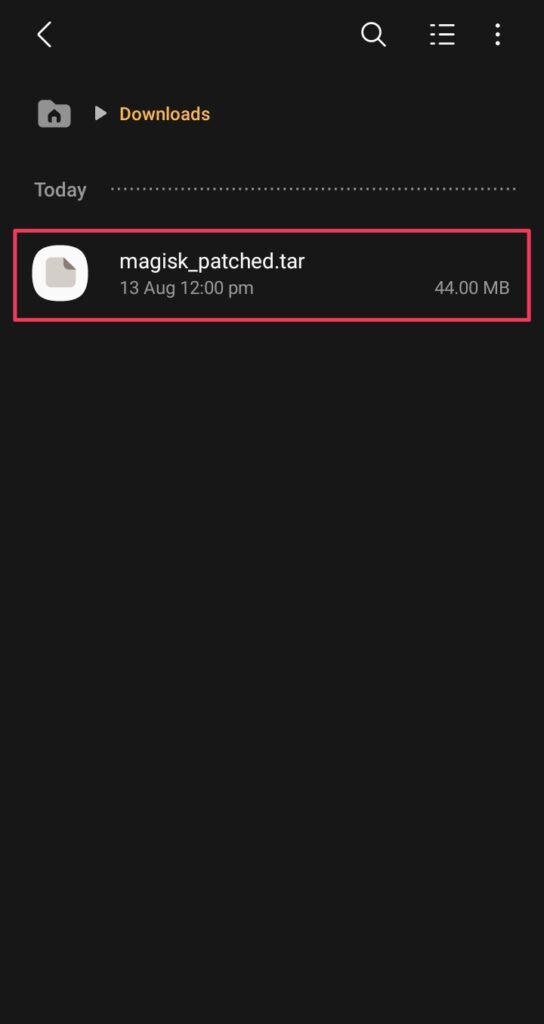
- Deliver that .tar file to the PC, and connect your phone into download mode.
- Turn off the phone, and press both volume keys while connecting to the PC.
Step 3 – Flash the patched boot image file
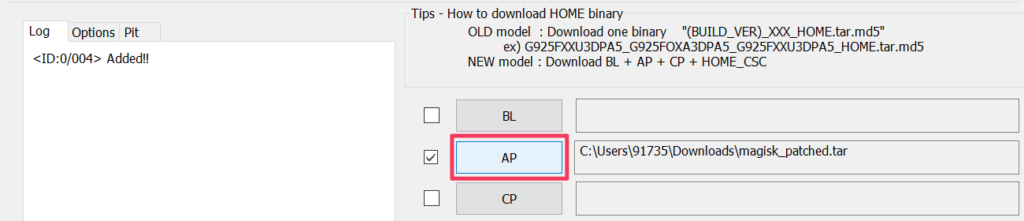
- Open the Odin Flash Tool, there, you will notice that the device is connected, but if that’s not showing in your case, perform the last two steps once again.
- Head toward the “AP” section, then drag and drop the magisk patched .tar file.
- In the left corner, you have to untick the “Auto-reboot” option to boot manually.
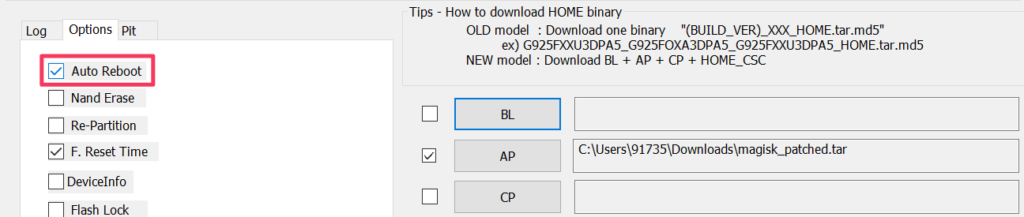
- Now, simply tap on the start button to initialize the final patching procedure.
Step 4 – Re-installing the Magisk App
- Remove the data cable once the flashing process ends, then press and hold the Volume down + Power Button until the Samsung logo with alert appears.
- Release both buttons and long-press Volume Up key to enter in the recovery.
- Apply the factory reset setting and safely reboot your phone in the usual way.
- Download the Magisk App from this article and install it properly, so it works.
Once the reboot process end, the magisk will fully install with your phone, now enjoy!
Related Article:
Now, let’s close this chapter once and for all since you have to unlock those impressive traits that are usually blocked. It’s your time to unveil the true potential of your device.
Lastly, if you encounter any problem regarding rooting Samsung Galaxy A13, you can directly contact us from the comment section or check out our telegram group quickly.