How to Root Samsung Galaxy S20 Using Magisk
There are several things you can achieve once you have to root Samsung Galaxy S20. Plus, unlock unique privileges without interfering with the system settings partition.
If you desire to unhitch all those magnificent settings, you need the right step-by-step guide that will lead you toward a safe rooting experience without any particular issue.
The process we have combined is the proper blend of tech knowledge, and I hope that you learn few new things as well, so without any further ado, let’s visit the specs first.
This smartphone launched in the Indian market on 11th February 2020. Talking about camera sensor 12MP + 64MP + 12MP triple primary camera setup. Exynos 9 Octa processor powers Samsung Galaxy S20 with 8GB Ram and 256GB storage. The smartphone was coming— with 6.2 inches (15.75 cm) Dynamic AMOLED. We are moving to battery performance is 4000 mAh, USB Type-C Port with Fast Charging before starting the guide. Let’s understand what root is!
What is Root?
Rooting access is a pathway that allows users to enter deep settings of their Android smartphone by changing a portion of the system partition and unlocking new stuff.
You will get advanced-level features, customization options, Custom ROM, and many more things that can unfold a techie world once you install fantastic privileges set.
However, expecting that each aspect of rooting is pure and clean would be a lie. You will notice some general issues as well as profit that we have covered pros and cons.
Here are some Points to Remember while Rooting
- Ensure your smartphone bootloader has unlocked. You can also follow our guide to unlocking the bootloader on any Samsung phone.
- You can not do anything about the data stored inside the internal storage once the rooting process starts. Please, take backup data before.
Advantages of Root Samsung Galaxy S20
You didn’t have to worry about quick battery drain as you can easily enhance screen time with fantastic rooting features and get extra time for gameplay and streaming.
Get overkill power with overclocking software, and unfasten the true potential of your smartphone while experience next-level performance feels in each aspect every time.
Disadvantages of Root Samsung Galaxy S20
When you enable the powerful features settings, sometimes, the internal partition might disrupt other functions and cause heating problems in the long term period.
You may have to pay back with the invitation of annoying ads notification when you download random ROMs or damaging the ecosystem, so choose wisely every app.
Disclaimer: You need to be aware that this patching method is tricky and risky. Magiskupdate is not responsible for any damage to the reader device. So do it everything carefully. Download and install the Samsung USB driver to your PC.
How to Root Samsung Galaxy S20 Using Magisk
Preparing the boot image file
- Ensure that you have put the magisk app, Odin tool, and Stock Firmware file in the same folder since you will need them frequently during the procedure.
- Enter into stock firmware folder and extract the “AP” file through the unzipper.
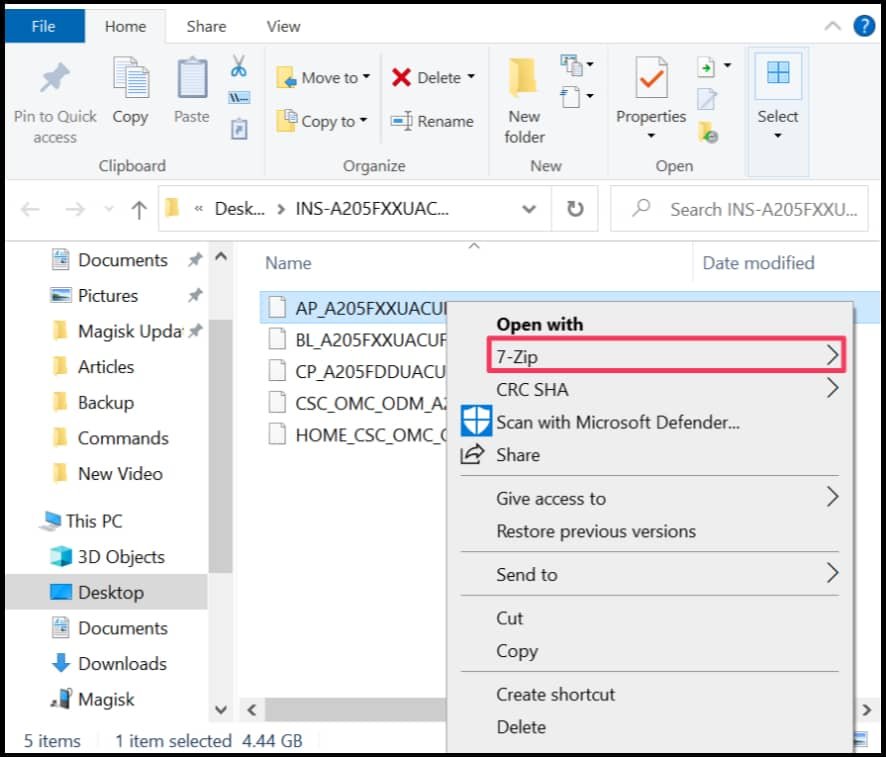
- Now tap on a newly extracted folder. There, you have to right-click the boot file.
- Choice 7-zip then select the “Add to archive” option to change archive format.
- Select and change the archive format from .lz4 to .tar, then hit the OK button.
- Copy the boot.img.tar into your Android smartphone for the patching process.
Patching the boot image file
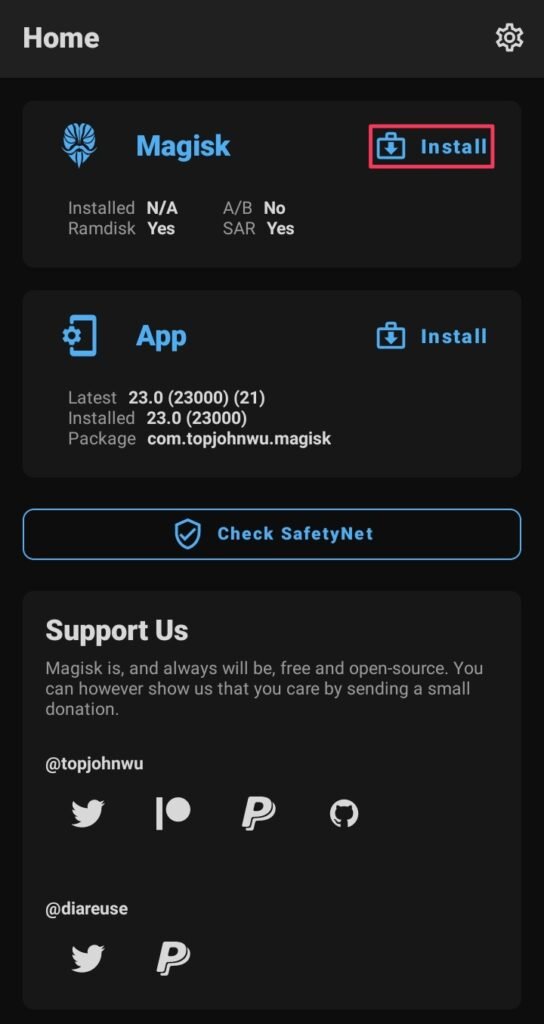
- Download and install Magisk App and tap on the install option inside the app.
- Navigate to the storage unit part where you have saved in device boot.img.tar.
- Once you tap on that file, the patching process will automatically be initialized.
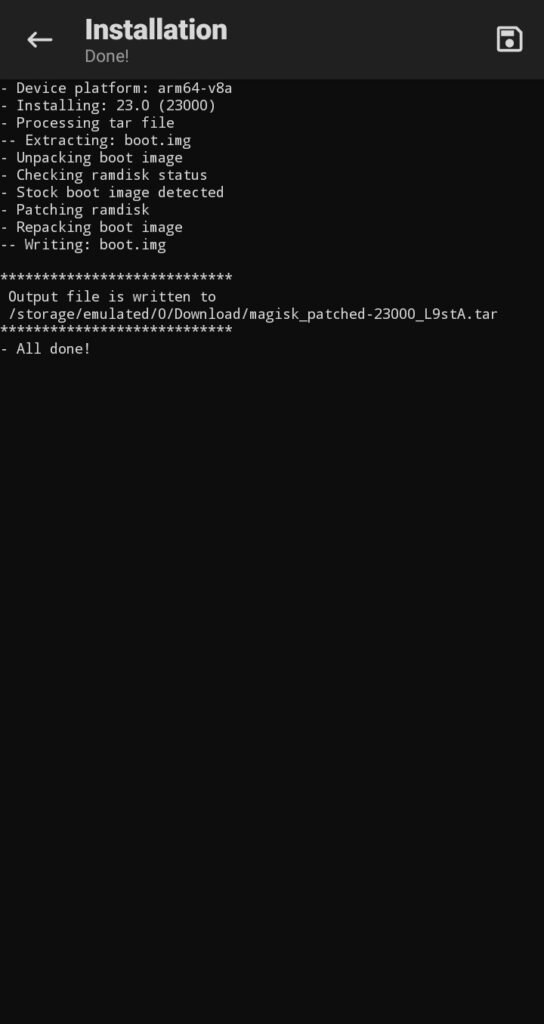
- From this, you will obtain the magisk_patched.tar file at the exact location.
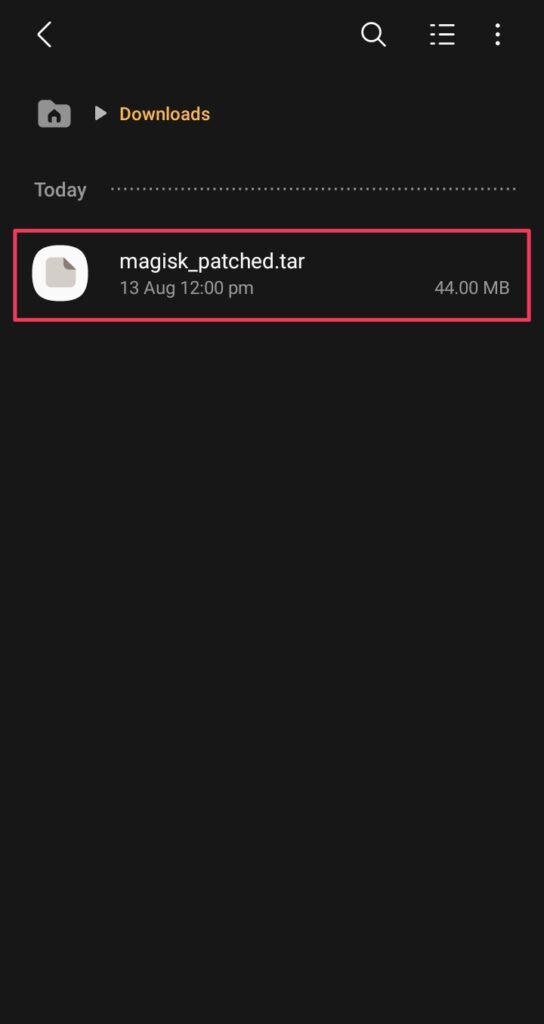
- Deliver that .tar file to the PC, and connect your phone into download mode.
- Turn off the phone, and press both volume keys while connecting to the PC.
Flash the patched boot image file
- Open the Odin Flash Tool, there, you will notice that the device is connected, but if that’s not showing in your case, perform the last two steps once again.
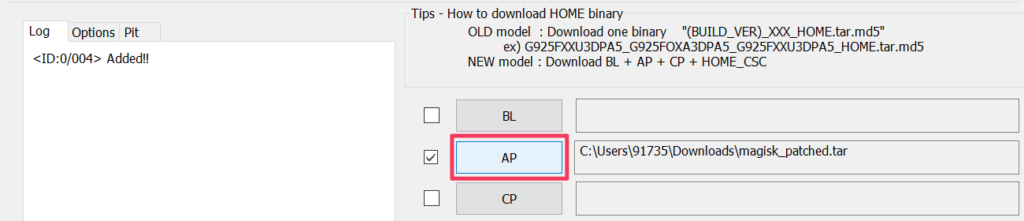
- Head toward the “AP” section, then drag and drop the magisk patched .tar file.
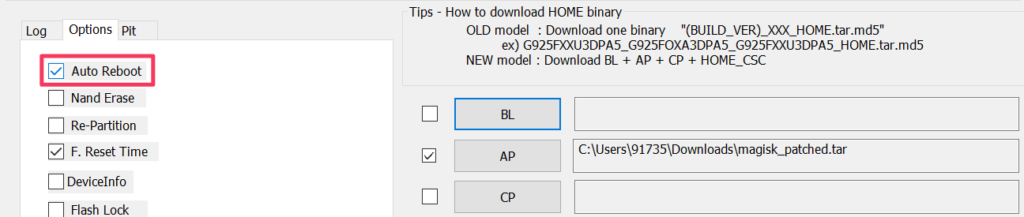
- In the left corner, you have to untick the “Auto-reboot” option to boot manually.
- Now, simply tap on the start button to initialize the final patching procedure.
Re-installing the Magisk App
- Remove the data cable once the flashing process ends, then press and hold the Volume down + Power Button until the Samsung logo with alert appears.
- Release both button and long-press Volume Up key to enter in the recovery.
- Apply the factory reset setting and safely reboot the phone in the usual way.
- Download the Magisk App from this guide and install it properly, so it works.
Once the reboot process end, the magisk will fully install with your phone, now enjoy!
Related Article:
Get anything come to your mind and enjoy exciting rooting privileges with the latest Magisk version; you can also unfold tons of customization traits in few simple steps.
Don’t be hesitated to ask about tips and if you are facing the issue, please discuss it in the below section—as for now, I will take my leave and meet in the upcoming post.